


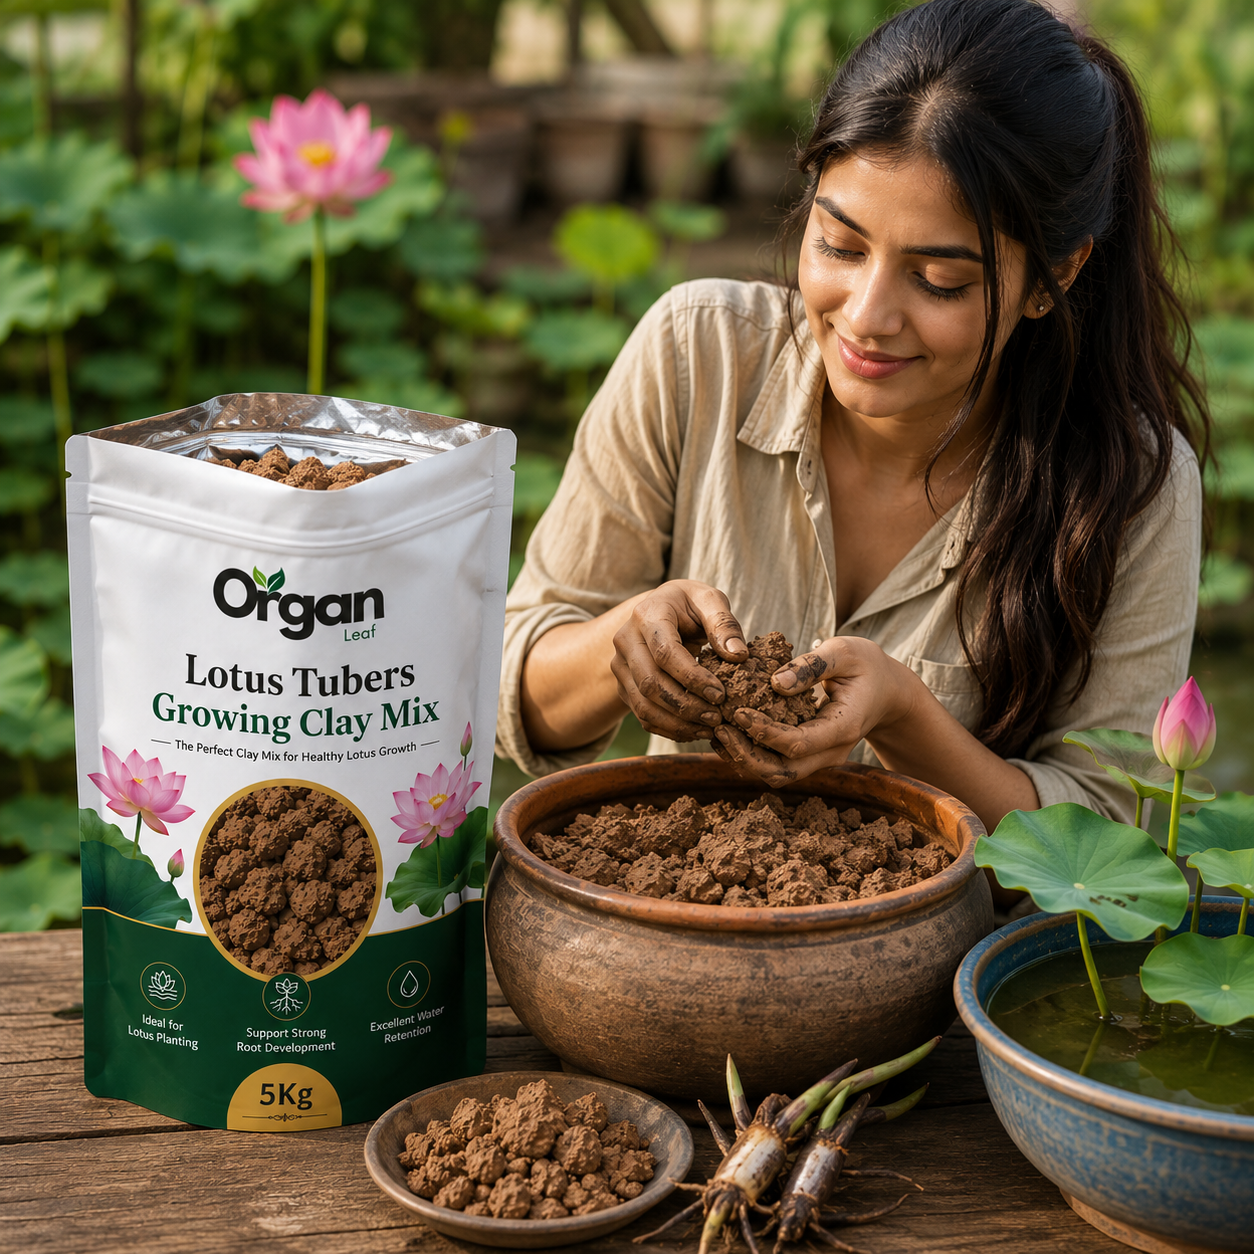

How to Grow Lotus With Clay Mix
Simple Steps for Successful Germination & Healthy Growth
Step 1 – Open the Pouch
Carefully open the pouch and pour the required amount of Lotus Tubers Growing Clay Mix into a wide planting container or bucket.
Step 2 – Add Water
Slowly add clean water while stirring the clay mix. Continue adding water until it forms a smooth, thick, mud-like consistency. Avoid making it too watery.
Step 3 – Let the Clay Settle (24 Hours)
Leave the prepared clay mixture undisturbed for 24 hours. This allows the clay to absorb water completely, settle properly, and develop the ideal texture for planting.
Step 4 – Prepare the Planting Container
Transfer the settled clay into a wide lotus pot or container without drainage holes. Spread it evenly to create a 10–15 cm (4–6 inch) deep layer.
Step 5 – Plant the Lotus Tuber
Place the lotus tuber horizontally on the clay surface with the growing tip (shoot) pointing slightly upward. Gently press the tuber into the clay and lightly cover the roots, leaving the growing tip exposed. Do not bury the growing tip.
Step 6 – Add Water Carefully
Slowly pour water into the container from the side to avoid disturbing the clay. Maintain a water level of 2–5 cm (1–2 inches) above the soil during the initial growth stage.
Step 7 – Place in Sunlight
Keep the container in a location that receives 6–8 hours of direct sunlight every day. Lotus plants require full sun for healthy growth and flowering.
Step 8 – Fertilize After Establishment
Once the lotus has developed several healthy floating leaves (usually after 3–4 weeks), begin feeding it with an aquatic plant fertilizer according to the recommended dosage.
Step 9 – Enjoy Healthy Lotus Growth
Maintain a consistent water level, provide regular sunlight, and continue periodic fertilization. With proper care, your lotus will develop strong foliage and beautiful blooms.


